About
Shop
FAQ
Freebies
Gallery
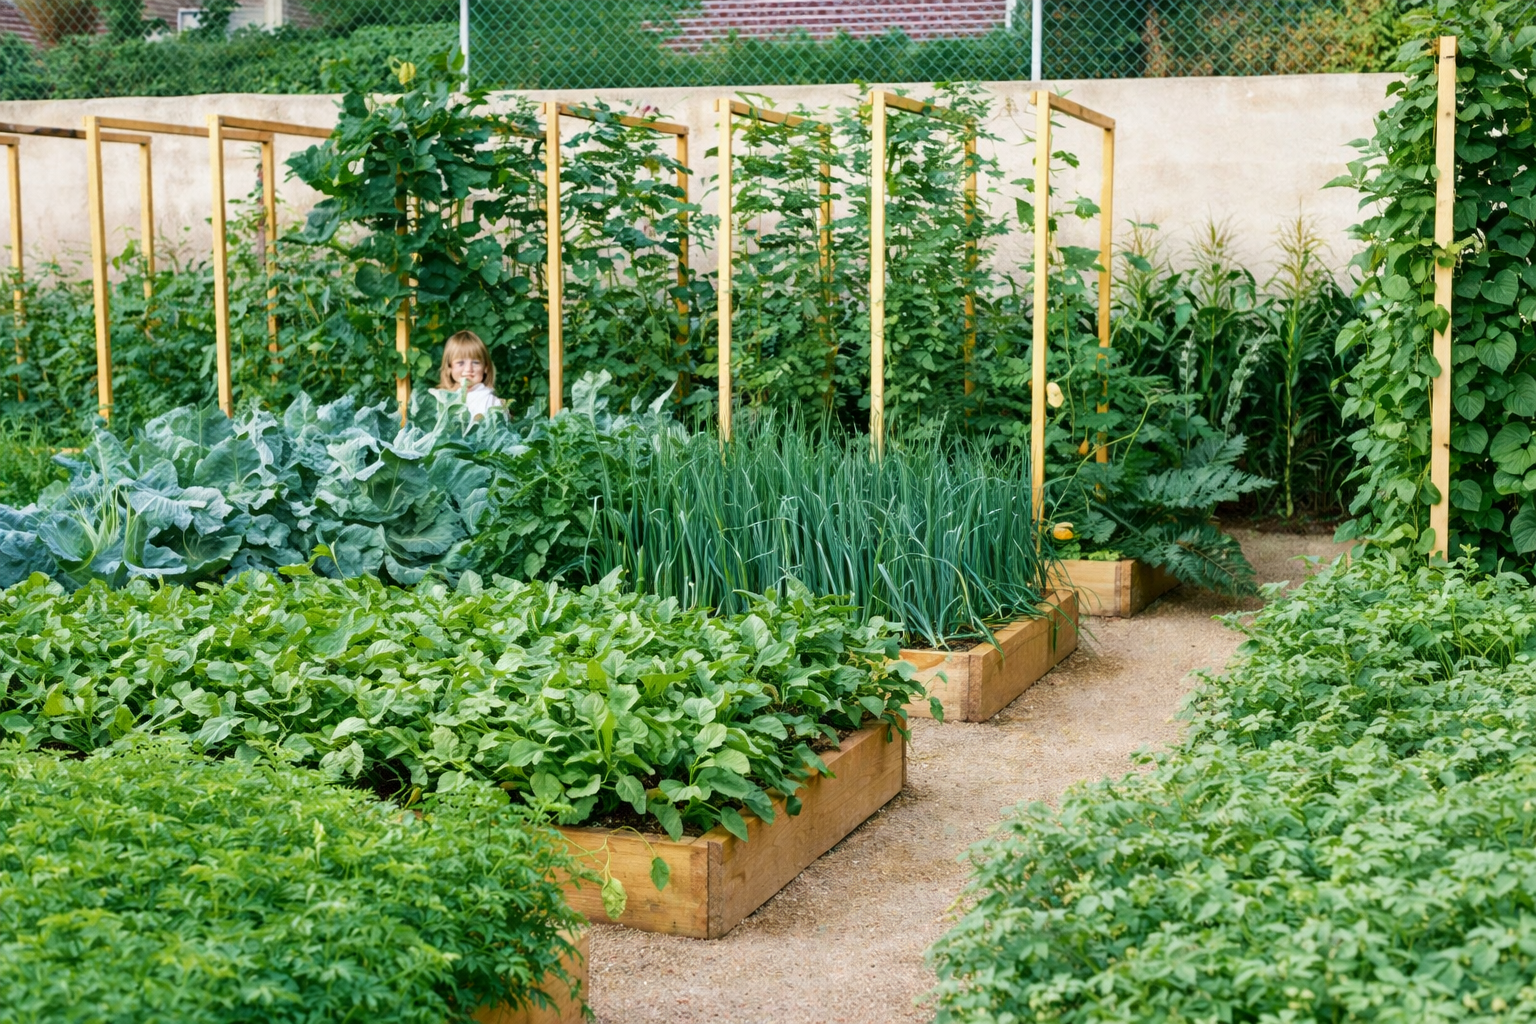
Building Mini-Greenhouses from PVC Pipe
I will give instructions for building a jig and then making PVC arches for 18″-wide boxes or beds.
Materials needed:
11 – 5′ lengths of 1/2″ Schedule 40 PVC pipe – to place arches 3′ apart – for each bed or box you are wanting to cover.
6-mil greenhouse plastic – 5′ wide and 33′ long – one for each bed or box to be covered.
For Grow-Boxes only – 3 10′ lengths of 3/4″ Schedule 200 PVC pipe, cut into 24 15″ pieces for each box to be covered. Plus 22 – 2 1/2″ nails and small 2″ X 4″ block.
One 30″ X 30″ (or bigger) sheet of plywood, plus 6 – 2 1/2″ nails.
One heat gun (to heat and bend pipe).
The jig for bending the PVC pipe:
With a pen, make 3 marks at the top of the plywood sheet – one in the center, and one each, 9″ to the left and right of the center. Go down 9″ on the plywood and make 3 marks exactly corresponding to the first 3.
Draw lines from the outside lower marks to the top center mark. Place marks on both lines 10″ up from the bottom. Go down 18″ on the plywood and make 3 marks corresponding to the others. Draw lines between the marks.
Make marks 2″ up from the bottom of both 18″ lines. Drive nails into the 4 upper marks, leaving 2″ exposed. Drive nails into the marks 2″ up from the bottom of the 18″ lines, then drive nails 1″ to the left and right of these nails.
Cutting and Bending PVC Pipe
Cut 5′ lengths of 1/2″ schedule 40 PVC pipe. Mark them at 18″ and 28″ from each end. Place one end of PVC pipe between nails on one side, with the end at the 18″ mark (2″ below the first 2 nails). With heat gun, heat PVC pipe at each spot where PVC pipe encounters a nail, and carefully bend the pipe to fit the jig. allow to cool before removing pipe from jig.
For Grow-Boxes, place 15″ pieces of 3/4″ PVC adjacent to the Grow- Box at each end and at 3′ intervals on both sides. With a hammer, and using the small 2″ X 4″ block of wood, hammer the PVC into the ground until the top is level with the Grow-Box. Pre-drill a hole through the PVC pipe 2″ up from the dirt, and hammer the 2 1/2″ nail through both pipe and Grow- Box. Bend the nail over on the inside of the Grow-Box to avoid getting scratched later. Slip the 1/2″ PVC arches into the 3/4″ PVC holding pipes until they encounter the nails – about 6″ deep.
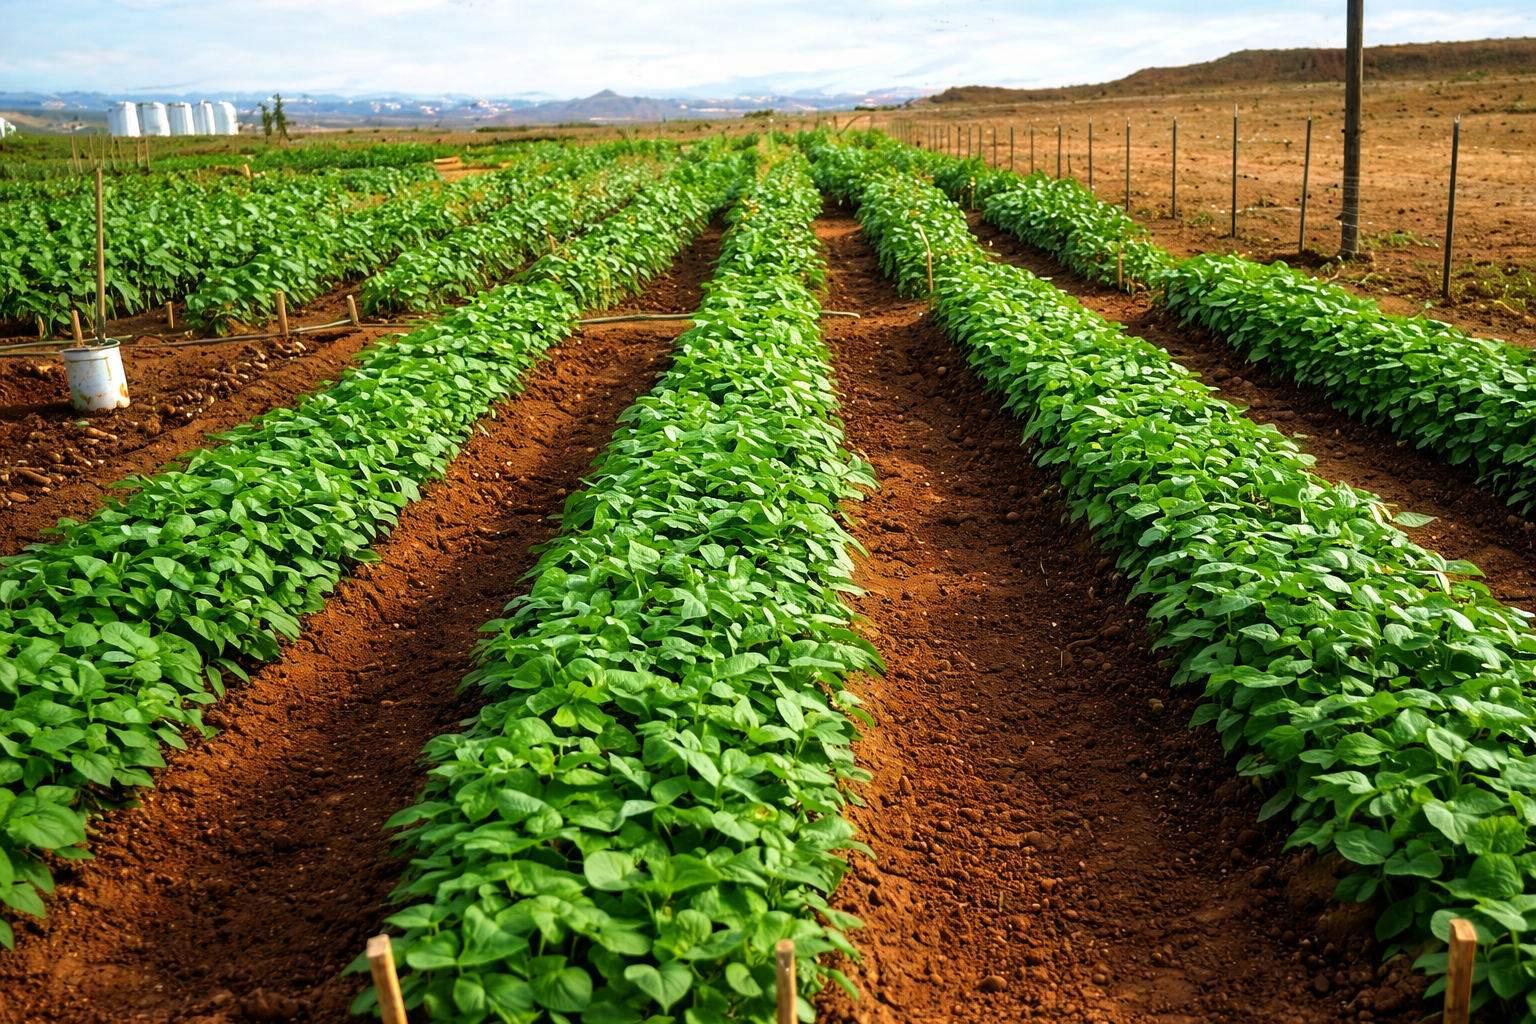
For Soil-Beds, just push the 1/2″ PVC arches into the ground at the peak of the ridge on each side of the Soil-Bed – again about 6″ deep.
Lay the 6-mil plastic over the entire box or bed, centered, with 18″ overhang on each end. Place dirt on all sides of the plastic to hold it in place, as well as at the ends.
Whenever the weather is conducive, open the ends, and when it is above 60 degrees, take the plastic off from one side.
Remember, you must watch carefully that it doesn’t get too hot in your mini-greenhouses. A thermometer in at least one bed is a good idea, to measure the temperature, and make adjustments in the exposure.
Remember also, that brassicas can grow in cooler weather than the warm- weather plants. Tomatoes, corn, peppers, etc. must be near 70 degrees or above to do well.