About
Shop
FAQ
Freebies
Gallery
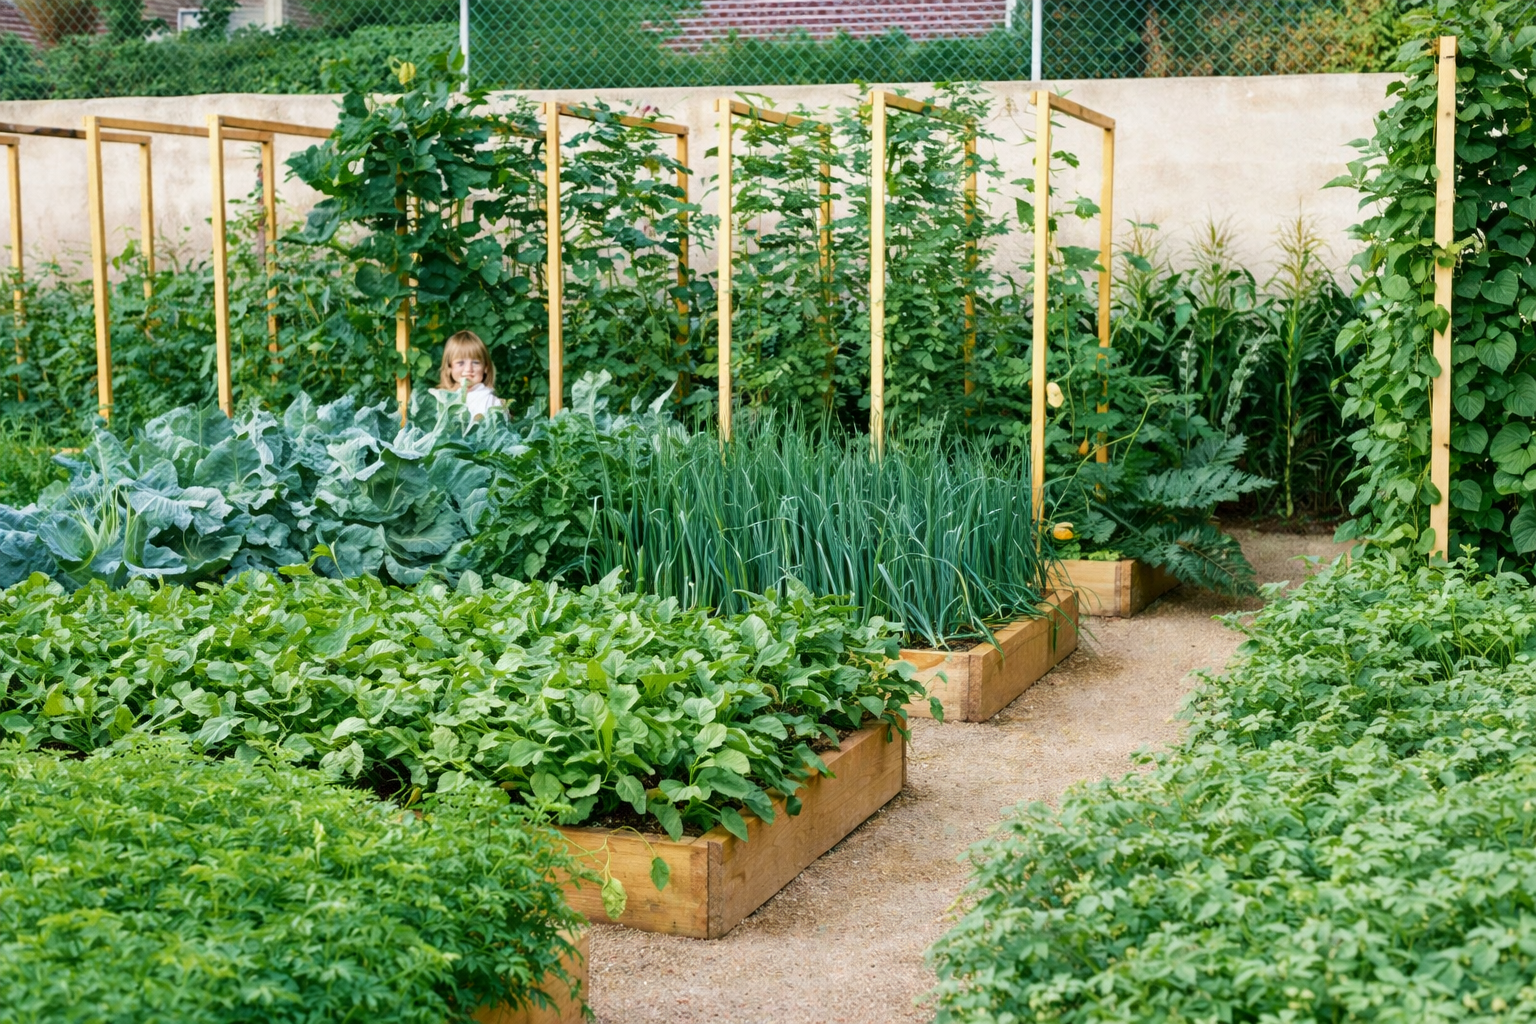
Prepare Now For Next Spring’s Garden
Winter’s the time to get ready to grow your own seedlings! It’s not really difficult, and can extend your growing season by many weeks. For example, by planting cabbage, broccoli, and cauliflower in February in your basement under grow-lights, you can put large, sturdy transplants into your garden by the end of March or early April, and be eating them when others are just seeing them come up!
Remember that photosynthesis, using light, heat and moisture causes plant growth. Therefore you must follow a few key natural principles very carefully, or you will be disappointed.
First, seeds must have moisture to germinate and grow. And the soil mix must be moist, but not soggy, or you’ll drown the new plant, since it must also have oxygen!
Second, while heat is essential, temperatures must be maintained in a narrow range for ideal germination to occur. Most vegetable seeds germinate quickly between 75 and 80 degrees Fahrenheit. After plants are up, many of them will grow in cooler temperatures, but most all will become dormant (stop growing) at temperatures below 50 degrees.
Third, light is not necessary for seed germination, but as soon as your seedlings begin to emerge from the soil, maximum light is required immediately for proper development. Therefore, to grow in your house, make sure your plants have a strong (but not hot!) light source directly on the plants, for up to 16 hours per day. Note the pictures of two grow-light shelves in the Gallery Section. The metal one is 6-shelf Commercial Chrome Shelving, from Sam’s Club costing only $70, and will hold 20 flats of plants. Suspend shop lights with 2 cool and 2 warm 40-watt tubes 4 to 6″ above the plants, or use more efficient LED grow-lights .
The fourth principle relates to feeding. A balanced nutrient mix of 13 minerals is essential to plants immediately after germination. Those nutrients are mineral salts and must be very dilute in the soil moisture, otherwise osmosis will cause the salt to draw the life-giving moisture out of the plants, and they will die. To ensure you never burn your plants, water seedlings daily using the “Constant Feed Solution” of one scant ounce (2 almost level tablespoons) of Weekly Feed dissolved in 3 gallons of water. To make the Weekly Feed Mix simply add one small packet of the Micro-Mix, which is available on the Foundation’s website listed below, with 4# of Epsom Salt and 25# of 16-16-16.
Next, it is important to separate your small plants before their leaves begin to overlap with others’, or the tiny stems will become very weak and spindly as the plants all stretch – looking for more light. By the time the plants have their first or second true leaf this step should be completed. Failure to act for even a few hours can result in spindly, weak plants, which sometimes never recover. Transplanting seedlings into 2″ 6-paks or pots will provide adequate space for them to grow an additional 2-3 weeks, depending on variety. If it’s still too early to put them out into the garden by the time plant leaves are again beginning to overlap, prune the leaves, transplant again into larger pots, or separate pots, so the plant leaves always have maximum light.
Before transplanting into the garden, “harden-off” your plants outside, off the ground for 2 to3 days, to acclimate them to direct sunlight, temperature, wind, etc. This is important so the plant doesn’t have the shock of a new environment added to the shock to its root system caused by transplanting. If the weather turns cold at night, bring the plants back in the house. The temperature adjustment needs to be gradual.
For many of your plants, the pruning process does double duty. In addition to assuring maximum light, it shocks the plant mildly, causing it to pause in its growth and produce a thicker, sturdier stem. This process makes the plant much better able to endure the vicissitudes of the outside environment, such as cutworms, ants, etc. that often quickly decimate plants with weak, spindly stems.
For tall-growing plants, like tomatoes, be sure to provide small stakes tied to the plant stem, to prevent them from falling over. And with tomatoes, begin immediately to remove all sucker stems as soon as possible, to assure a single, strong stem and maximum production from your plant.
Great growing instructions can be found in the book Let’s Grow Tomatoes, available as a digital download and as a part of the Mittleider Gardening Library CD. It’s available at www.growfood.com/shop.
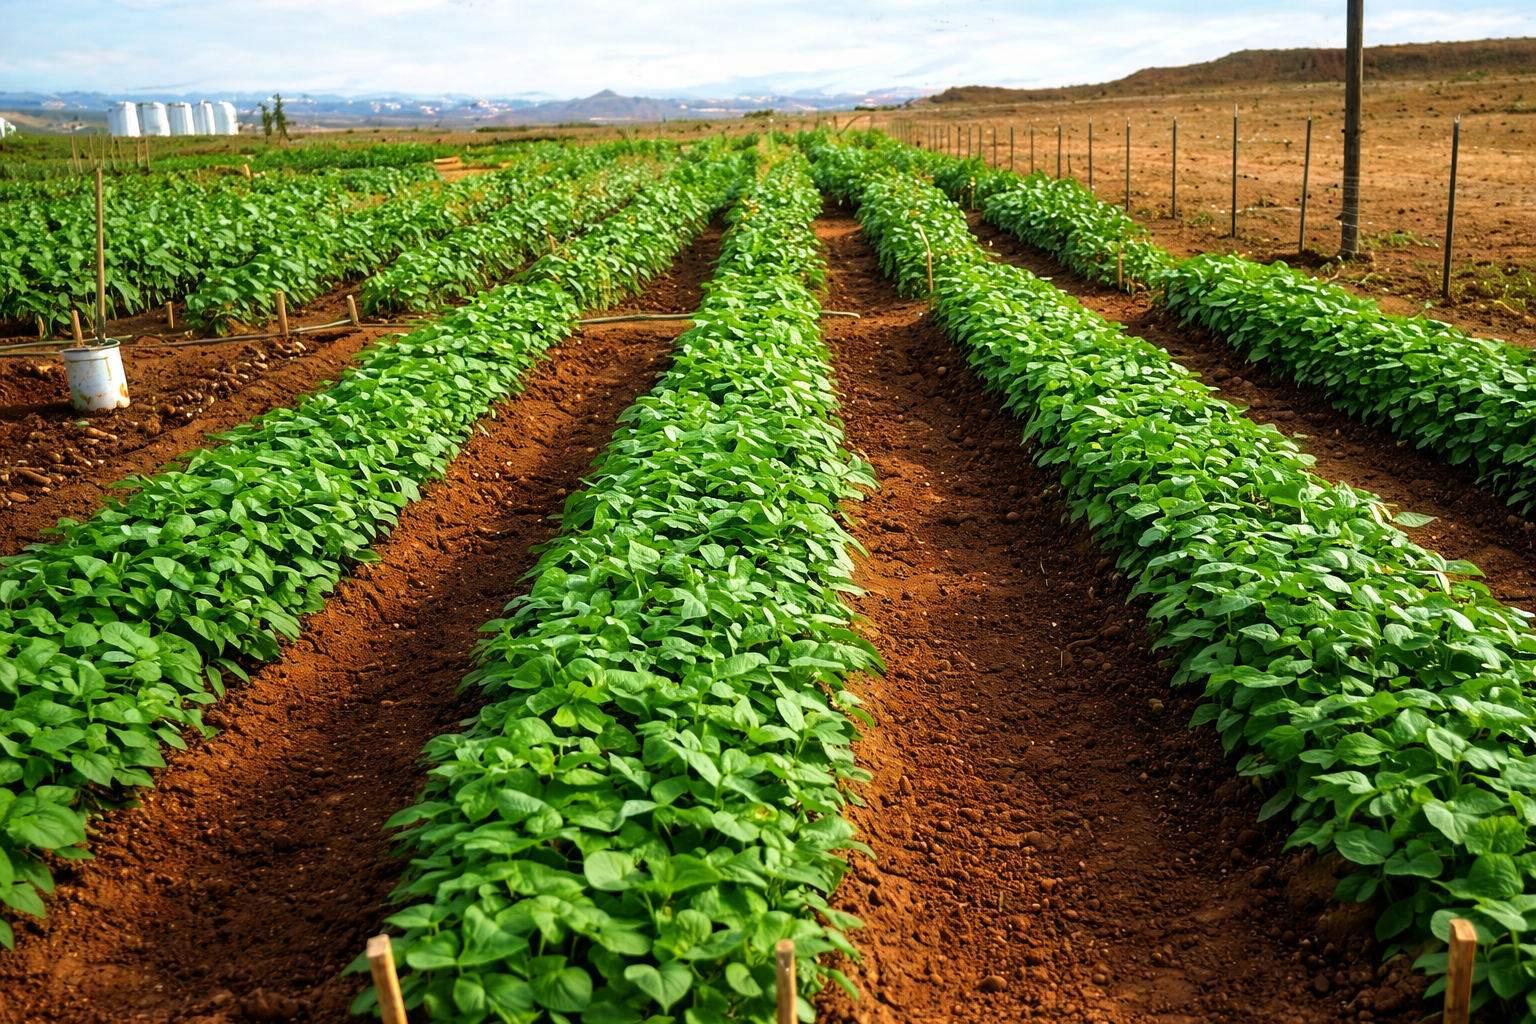
Simple Mini-Greenhouses for Containers and Soil-Beds – Vegetable gardening, or Organic gardening
It’s not too early to begin preparing for early spring planting (it works for fall planting also)! By covering your containers, which we call Grow-Boxes, or Soil-Beds with “Mini-Greenhouses” using PVC arches and greenhouse plastic, you can be in your vegetable garden with cool-weather plants by the end of February or the first of March, and continue growing into November. They will warm the soil and protect your plants from light frosts. And with a little supplemental heat (small space heater) even hard frosts will not kill your plants. This is often enough to extend your growing season by several weeks in both spring and fall.
This process works great with organic gardens, container gardens, raised-bed gardens, or in plain old soil-beds.
Pictures can be seen in the Photos section of the free MittleiderMethodGardening Group on Yahoo Groups, or the Mittleider Gardening Group on Facebook. Invitations to join are on every page of the Food For Everyone Foundation website at http://www.foodforeveryone.org. The pictures show arches over Grow-Boxes, or containers. Following are instructions for building a jig and then making PVC arches for 18″-wide boxes or soil-beds.
Materials needed:
11 – 5′ lengths of 1/2″ Schedule 40 PVC pipe – to be placed 3′ apart in each bed or box to be covered.
6-mil greenhouse plastic – 5′ wide and 33′ long – one for each bed or box to be covered.
For Grow-Boxes only – 3 10′ lengths of 3/4″ Schedule 200 PVC pipe, cut into 24 15″ pieces for each box to be covered. Plus 22 2″ nails and a small 2″ X 4″ block.
One 30″ X 30″ sheet of plywood, plus 6 – 2 1/2″ nails.
One heat gun (to heat and bend pipe).
With a pen, make 3 marks at the top of the plywood sheet – one in the center, and one each, 9″ to the left and right of the center. Go down 9″ on the plywood and make 3 marks exactly corresponding to the first 3. Draw lines from the outside lower marks to the top center mark. Place marks on both lines 10″ up from the bottom. Go down 27″ from the top of the plywood and make 3 marks corresponding to the others. Draw lines between the 9″ and 27″ marks. Make marks 2″ up from the bottom of both 18″ lines. Drive nails into the 4 upper marks, leaving 2″ of nail exposed. Drive nails into the marks 2″ up from the bottom of the 18″ lines, then drive nails 1″ to the outside of these nails. This is the jig for bending the PVC pipe.
Cut 5′ lengths of 1/2″ schedule 40 PVC pipe. Mark them at 18″ and 28″ from each end. Place one end of PVC pipe between nails on one side, with the end at the 18″ mark (2″ below the first 2 nails). With heat gun, heat PVC pipe at each spot where PVC pipe encounters a nail, and carefully bend the pipe to fit the jig. Allow to cool before removing pipe from jig.
For Grow-Boxes, place 15″ pieces of 3/4″ PVC adjacent to the Grow-Box at each end and at 3′ intervals on both sides. With a hammer, and using the small 2″ X 4″ block of wood, hammer the PVC into the ground until the top is level with the Grow-Box. Drill a hole through the PVC pipe 2″ up from the dirt, and hammer the 2″ nail through both pipe and Grow-Box. Slip the 1/2″ PVC arches into the 3/4″ PVC holding pipes until they encounter the nails – about 6″ deep.
For Soil-Beds, just push the 1/2″ PVC arches into the ground at the peak of the ridge on each side of the Soil-Bed – again about 6″ deep.
Lay the 6-mil plastic over the entire box or bed, centered, with 18″ overhang on each end. Fold excess plastic to avoid a messy appearance. Place dirt on both sides and the ends of the plastic to hold it in place.
Whenever the weather is above 50 degrees, open the ends, and when it is above 65 degrees, lift the plastic from one side and lay it in the aisle.
You must watch carefully to ensure that it doesn’t get too hot in your mini-greenhouses. A thermometer in at least one bed is a good idea, in order to measure the temperature and make necessary adjustments. Note also that brassica’s (cabbage, cauliflower, etc.) can grow in cooler weather than the warm-weather plants. Tomatoes, corn, peppers, etc. must be near 70 degrees or above to do well.