About
Shop
FAQ
Freebies
Gallery
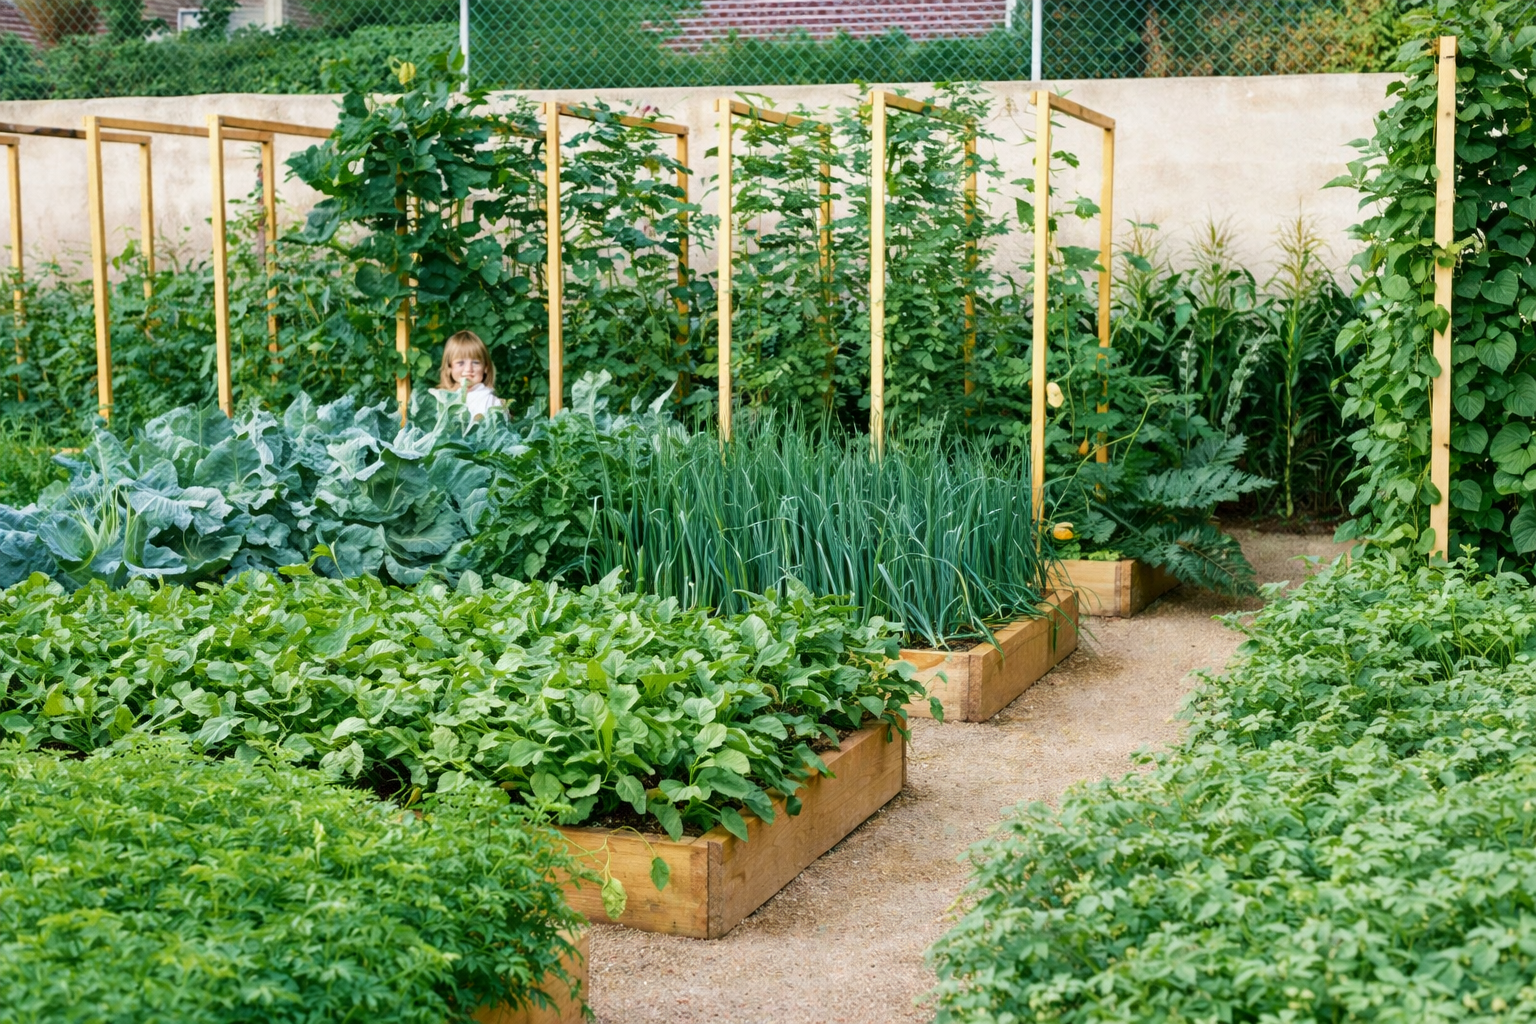

Creating the 18″-wide Level, Ridged Raised Soil-Bed
A new Mittleider gardener expressed the following – “Here’s what I learned after putting in my 1st Mittleider row.
“Start leveling from the center of each row and then work to each end. I think this would have saved some time because my rows dip down in the center.”
I’d like to pass along the experience of building and planting many thousands of soil-beds and Grow-Boxes, for this fine person and all other readers.
Here are the steps I recommend you follow to build and level your soil-beds:
1) Start with a very straight 8 to 10′-long 2″ X 2″ board (2 X 4’s will also work, but they’re very heavy for the ladies to use). Paint or stain it, to minimize warping.
2) Attach a string level to the center of the board with plenty of good glue.
3) After determining what direction you want to place your beds, with the high end nearest the watering source, and the beds as level as possible (do NOT worry about the location of the sun or the shape of your yard, but DO consider SHADE and avoid it!), measure and stake your beds, and tie nylon strings tight – 6″ above the surface – along both sides.
4) dig or till the entire length of the beds 18″-wide to a depth of AT LEAST 8″. DO NOT apply any Pre-Plant or Weekly Feed to the soil-bed until AFTER it has been leveled, or most of your fertilizers will end up in only half of the bed.
5) Dig or till the aisle space SHALLOWLY – just a couple of inches deep.
6) Pull 2″ of soil from the center of the aisle to the string, the entire length and on both sides of the bed.
7) Smooth and level the top of the soil-bed while breaking up any clods, and make the soil-bed the same width, immediately under the strings, all along its length.
8) Starting at the high end, check the level of the entire length of your bed BEFORE beginning to move dirt.
9) Supposing you had measurements at the end of your 10′-long level showing a difference of 2″, 1″, and 3″, it would indicate the high end of the bed is 6″ higher than the low end of the 30′-long soil-bed.
10) With a shovel, throw dirt from the top half of the soil-bed onto the bottom half, with more dirt coming from the first 10′ and going to the last 10′.
11) Your goal is to lower the high end of the bed by 3″ and raise the low end 3″ while keeping the bed flat and even throughout its length. This takes some practice, but it becomes easier after doing a few, and the beds are EASIER to do the second time, after they’ve once been leveled!
12) Only AFTER leveling the bed as described above do you apply and till or dig in the Weekly Feed ( 16 ounces for 30′, or 1/2 ounce per running foot) and Pre-Plant mixes (32 ounces for 30′, or 1 ounce per running foot).
13) After the fertilizers have been applied and mixed with the soil, re-check your level, smooth the top of the soil-bed, making the width equal throughout the entire length, and then begin making the ridges.
14) Pull 2 to 3″ of soil from the center of the bed to create a 4″-high ridge on both sides and ends of the bed with the top immediately under the strings.
15) When the ridges are complete drag a rake down the center of the bed to smooth and level the planting area. This should be about 12″-wide, and about 1″ higher than the aisles. DO NOT make your beds with the planting area more than 2″ higher than the aisles! This will lead to watering problems, and your beds will dry out too quickly.
16) Re-check the level of your bed throughout its length, and move dirt to assure that it is level. You should have no more than 1″ of fall in a 30′-long soil-bed.